Worm Composting: Turning Kitchen Waste into Black Gold
Worm composting, commonly referred to as vermicomposting, is an eco-friendly method of converting organic waste into a rich, nutritious compost using red worms. This practice not only helps reduce the amount of waste that goes into landfills but also provides a continuous source of high-quality compost for your garden.
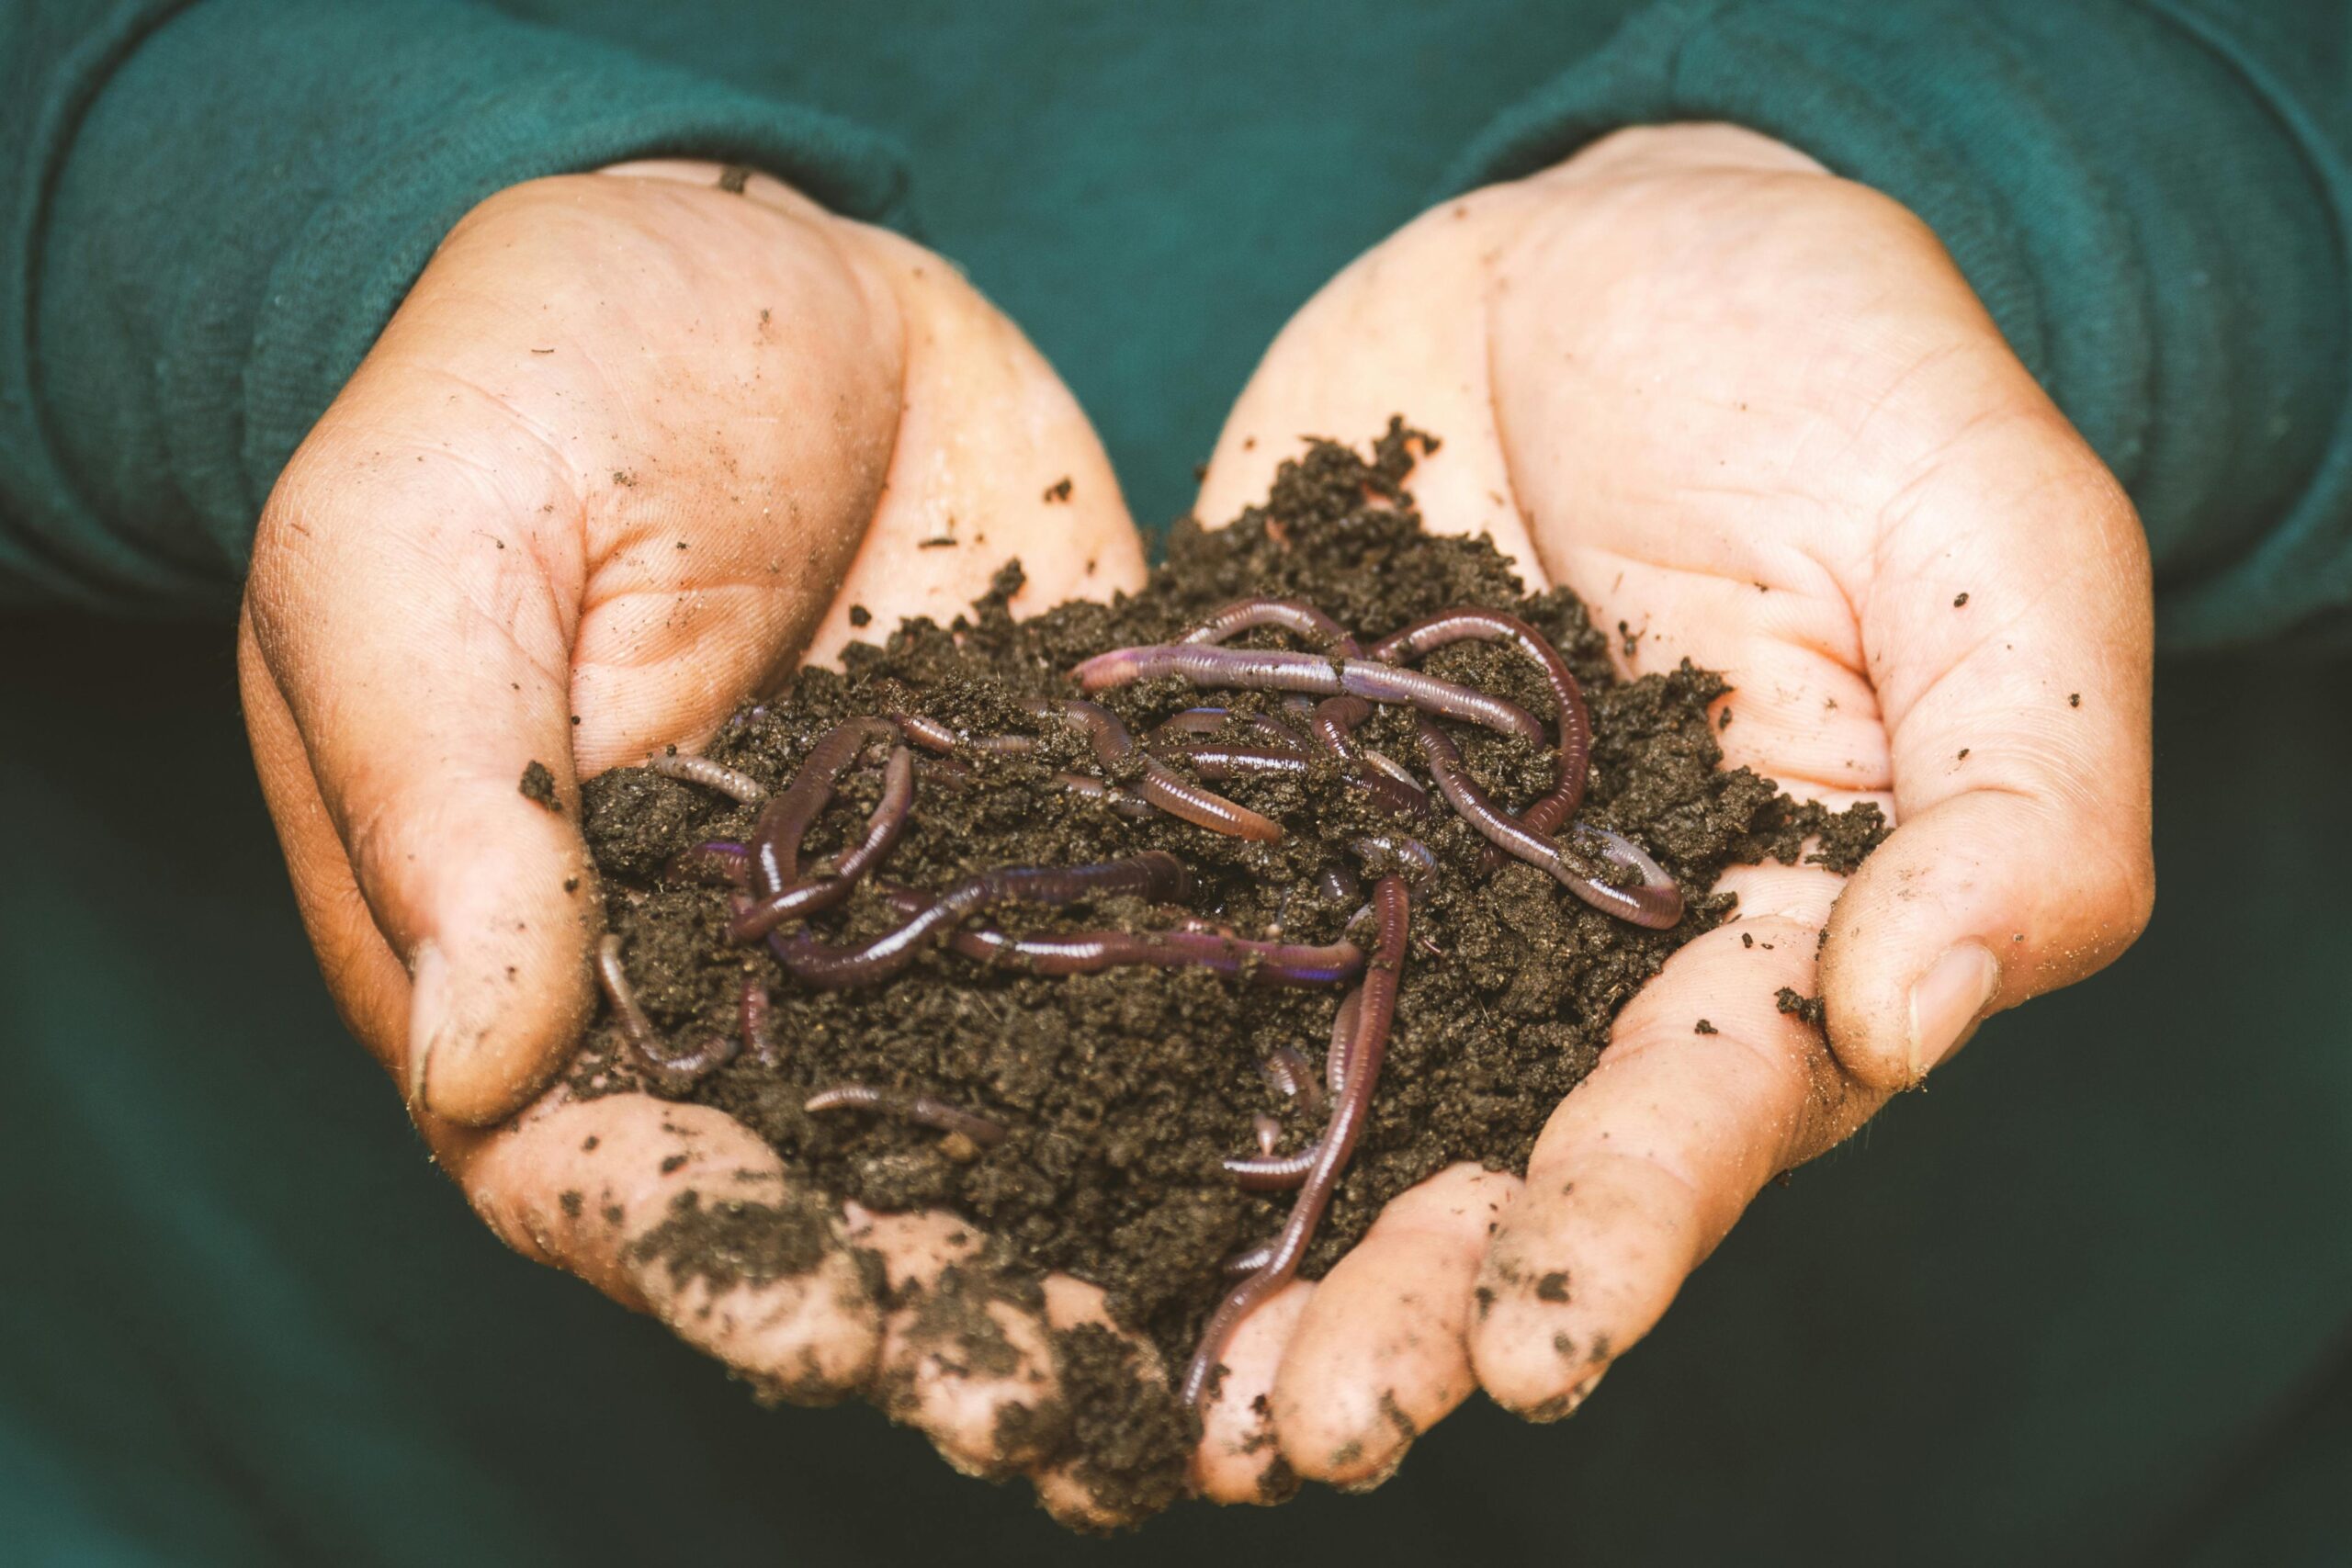
Worm composting is the decomposition process of organic waste using various species of worms, primarily red worms, such as Eisenia fetida or Eisenia andrei. These worms consume kitchen scraps, turning them into worm castings, which are a form of nutrient-rich compost. The benefits of vermicomposting are numerous. Worm castings contain a higher percentage of organic matter and nutrients than regular compost, helping your plants thrive. Additionally, this method significantly reduces kitchen waste destined for landfills, cutting down on greenhouse gas emissions. The best part? It’s suitable for small spaces, making it perfect for urban dwellers with limited room for traditional composting methods.
Setting up a worm bin is straightforward. Start with a large plastic tote with a lid or a specialized worm bin. Drill small air holes around the top and sides of the bin to ensure adequate ventilation. Next, prepare the bedding—shredded newspaper or cardboard moistened with water—and fill the bin two-thirds full. Introduce your red worms to their new home and begin feeding them kitchen scraps, making sure to bury the food under the bedding to prevent pests and odors.
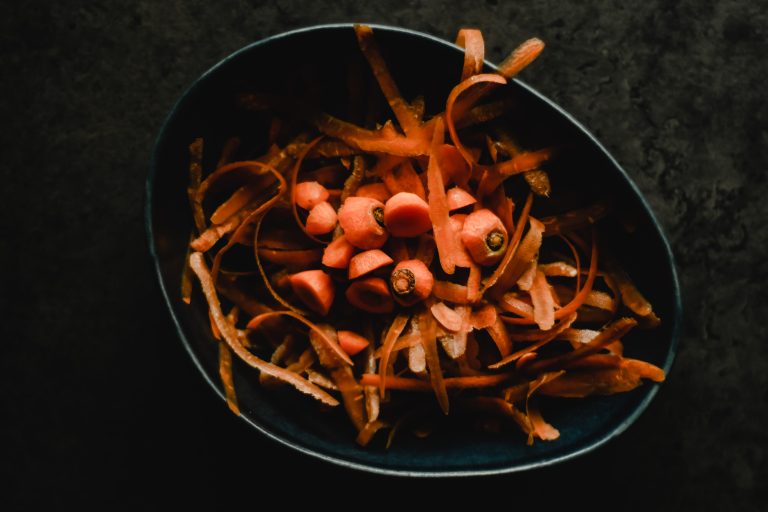
Feeding your worms is both simple and crucial for their health and the quality of the compost. They thrive on vegetable and fruit scraps, coffee grounds and filters, tea bags, and crushed eggshells. However, avoid feeding them meat and dairy products, oily or greasy food, spicy food, and large amounts of citrus, as these can harm the worms and the microbiome within the bin and cause unpleasant smells.
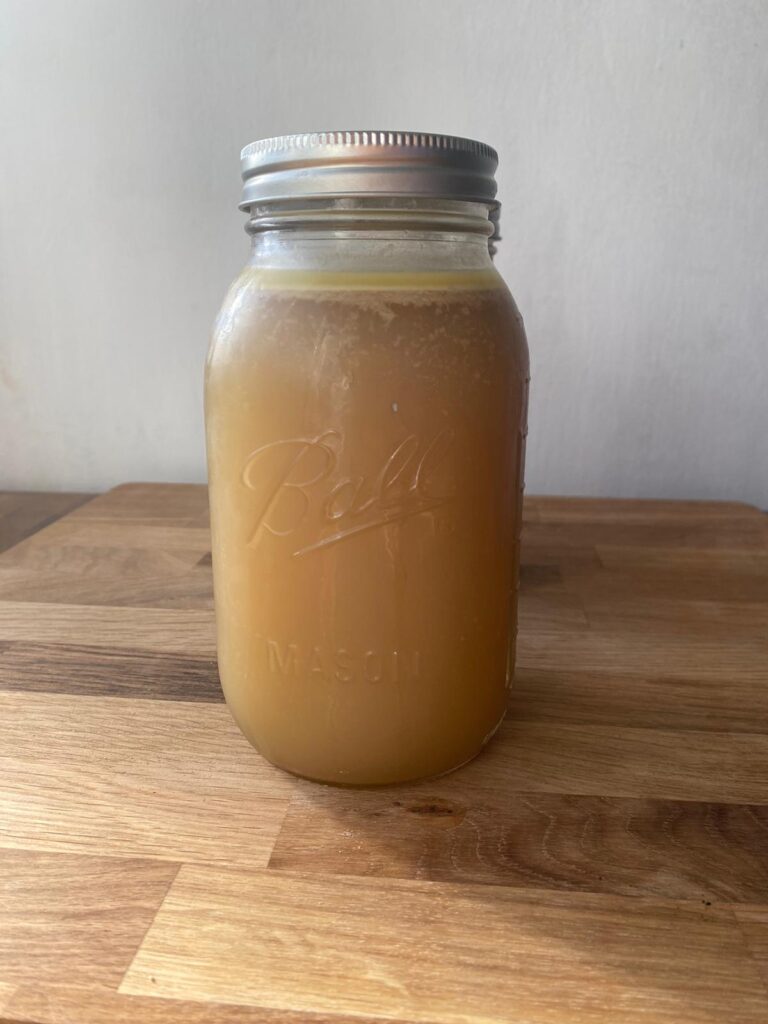
Remember to water the bin if you live in a hot climate. The compost should be damp to the touch but not wet. If you open your worm bin and the worms are on the lid, outside of the compost that’s an indication that your bin needs water as the worms are out searching for moisture. The worms produce waste juice through their digestion process. This juice can be used as a liquid fertiliser for your house plants or garden veggies.
After about three to six months, depending on the size of your bin and the number of worms, you’ll have a bin full of dark, crumbly worm castings. To harvest the compost, move the finished compost to one side of the bin and add food scraps and new bedding to the other. Over the next week or two, the worms will migrate to the fresh food side, allowing you to scoop out the finished compost without taking too many worms with it.
Like any composting method, vermicomposting can encounter some issues. A properly maintained worm bin should not smell bad; if it does, overfeeding or lack of ventilation could be the culprits. Tiny fruit flies or other pests may be attracted to your worm bin. Burying the food scraps and placing a tight-fitting lid on the bin can deter most pests.
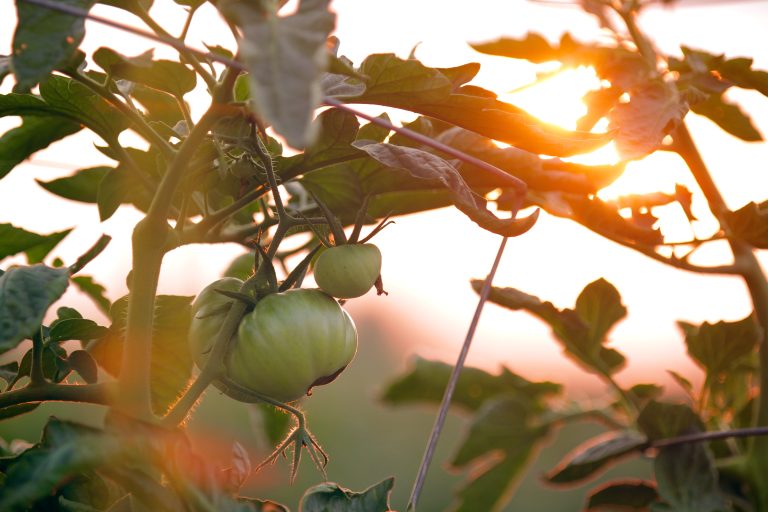
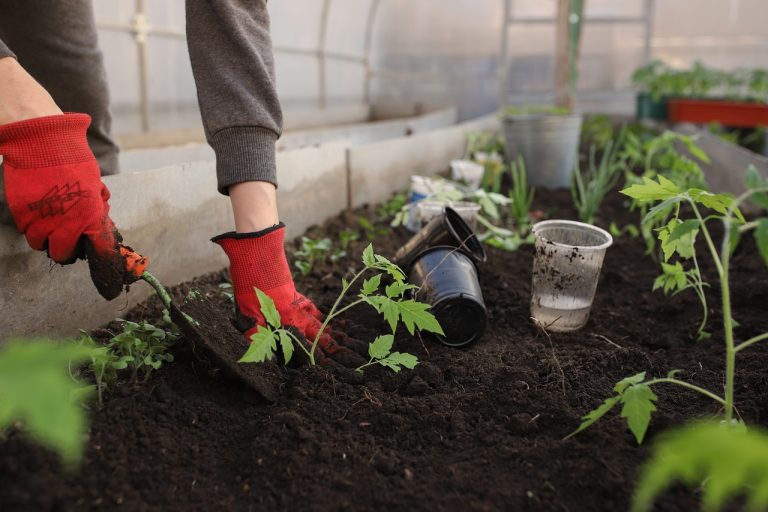
Worm composting is an effective and environmentally-friendly way to recycle kitchen waste. By giving just a little attention to your worm bin, you’ll be rewarded with nutrient-rich compost for your plants and a significant reduction in your carbon footprint. Apply the worm compost/ casting around your veggies plants or house plants for happy and healthy plants. Happy composting!