How to Make Homemade Jams and Jellies
If you’ve ever wanted to try your hand at making homemade jams and jellies, you’re in for a treat. Not only is it a rewarding and delicious way to preserve the flavors of your favorite fruits, but it also makes for a thoughtful and unique gift for friends and family. In this comprehensive guide, we’ll walk you through everything you need to know to make your own jams and jellies right in your own kitchen.
Understanding the Basics of Jam and Jelly Making
Diving into the world of homemade preserves requires a foundational understanding of what sets jams and jellies apart. Jams boast a thick, spreadable consistency, created from the harmonious blend of crushed or finely chopped fruit mixed with sugar. This mixture is then cooked until it reaches the perfect thickened state. On the flip side, jellies present a clearer, more gelatinous texture, achieved by using the clarified juice of fruits combined with sugar and a gelling agent like pectin. The key to crafting these delightful spreads lies in mastering the balance of sugar, fruit (or fruit juice), and pectin, alongside a careful cooking process. This balance not only influences the final texture but also plays a crucial role in preserving the vibrant flavors of the fruits. Additionally, the inclusion of acid, either naturally present in the fruit or added in the form of lemon juice, assists in gelling and ensures the preserves have a stable shelf life. As you embark on this culinary journey, understanding these basic principles will equip you with the knowledge needed to experiment with various fruits and flavors, leading to successful and tasty homemade jams and jellies.
Essential Equipment for Making Jams and Jellies
To embark on your jam and jelly-making adventure, a few key tools are indispensable. A large, heavy-bottomed pot is crucial for evenly cooking down fruits without burning them. A candy thermometer is an invaluable asset for accurately gauging when the mixture has reached the correct setting temperature, ensuring your preserves achieve the perfect consistency. Canning jars with new lids are necessary for storing your homemade preserves, while a water bath canner will be your best friend for processing jars, helping to seal them airtight and make them shelf-stable. Additionally, a wide-mouth funnel aids in cleanly transferring your jams or jellies into jars, minimizing spills and waste. A ladle will help with pouring, and a jar lifter is essential for safely removing hot jars from the water bath. Having these tools at hand streamlines the process, making your jam and jelly crafting journey both enjoyable and efficient.
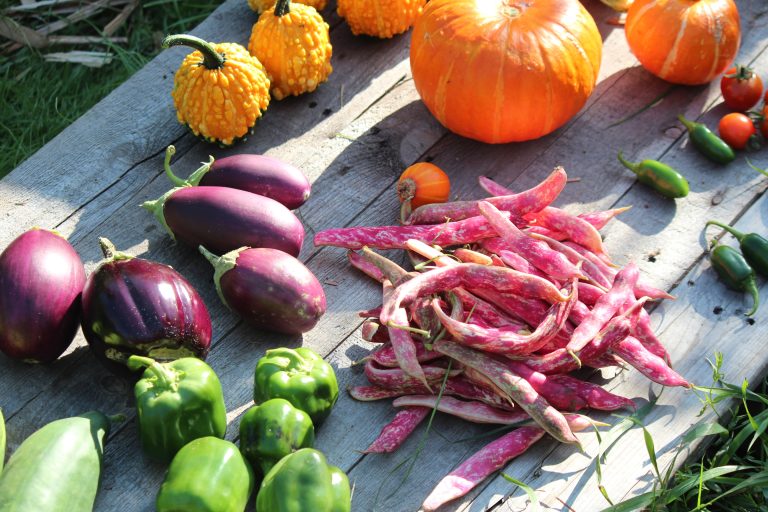
Choosing Your Fruit: Tips for the Best Results
Selecting the right fruit is a cornerstone of successful jam and jelly making. Look for fruits at the peak of their ripeness, as they will provide the most flavor and natural sweetness to your preserves. Overripe fruits may offer a rich taste but can result in a less desirable texture, while underripe fruits may be too tart and lack the necessary pectin levels for a good set. Organic fruits are a fantastic choice for avoiding unwanted chemicals, but ensure they are thoroughly washed before use. It’s also worth noting that the natural pectin content varies between different types of fruit. Apples, grapes, and some berries are high in pectin, making them excellent candidates for jelly, whereas fruits like strawberries and peaches, which are lower in pectin, might need a supplemental source of pectin when making jam. Experimenting with combinations of fruits can also yield delightful flavors and textures, offering a personal touch to your homemade preserves. When preparing your fruit, carefully remove any bruised sections and, for jellies, ensure the fruit is properly strained to achieve a clear, smooth consistency.
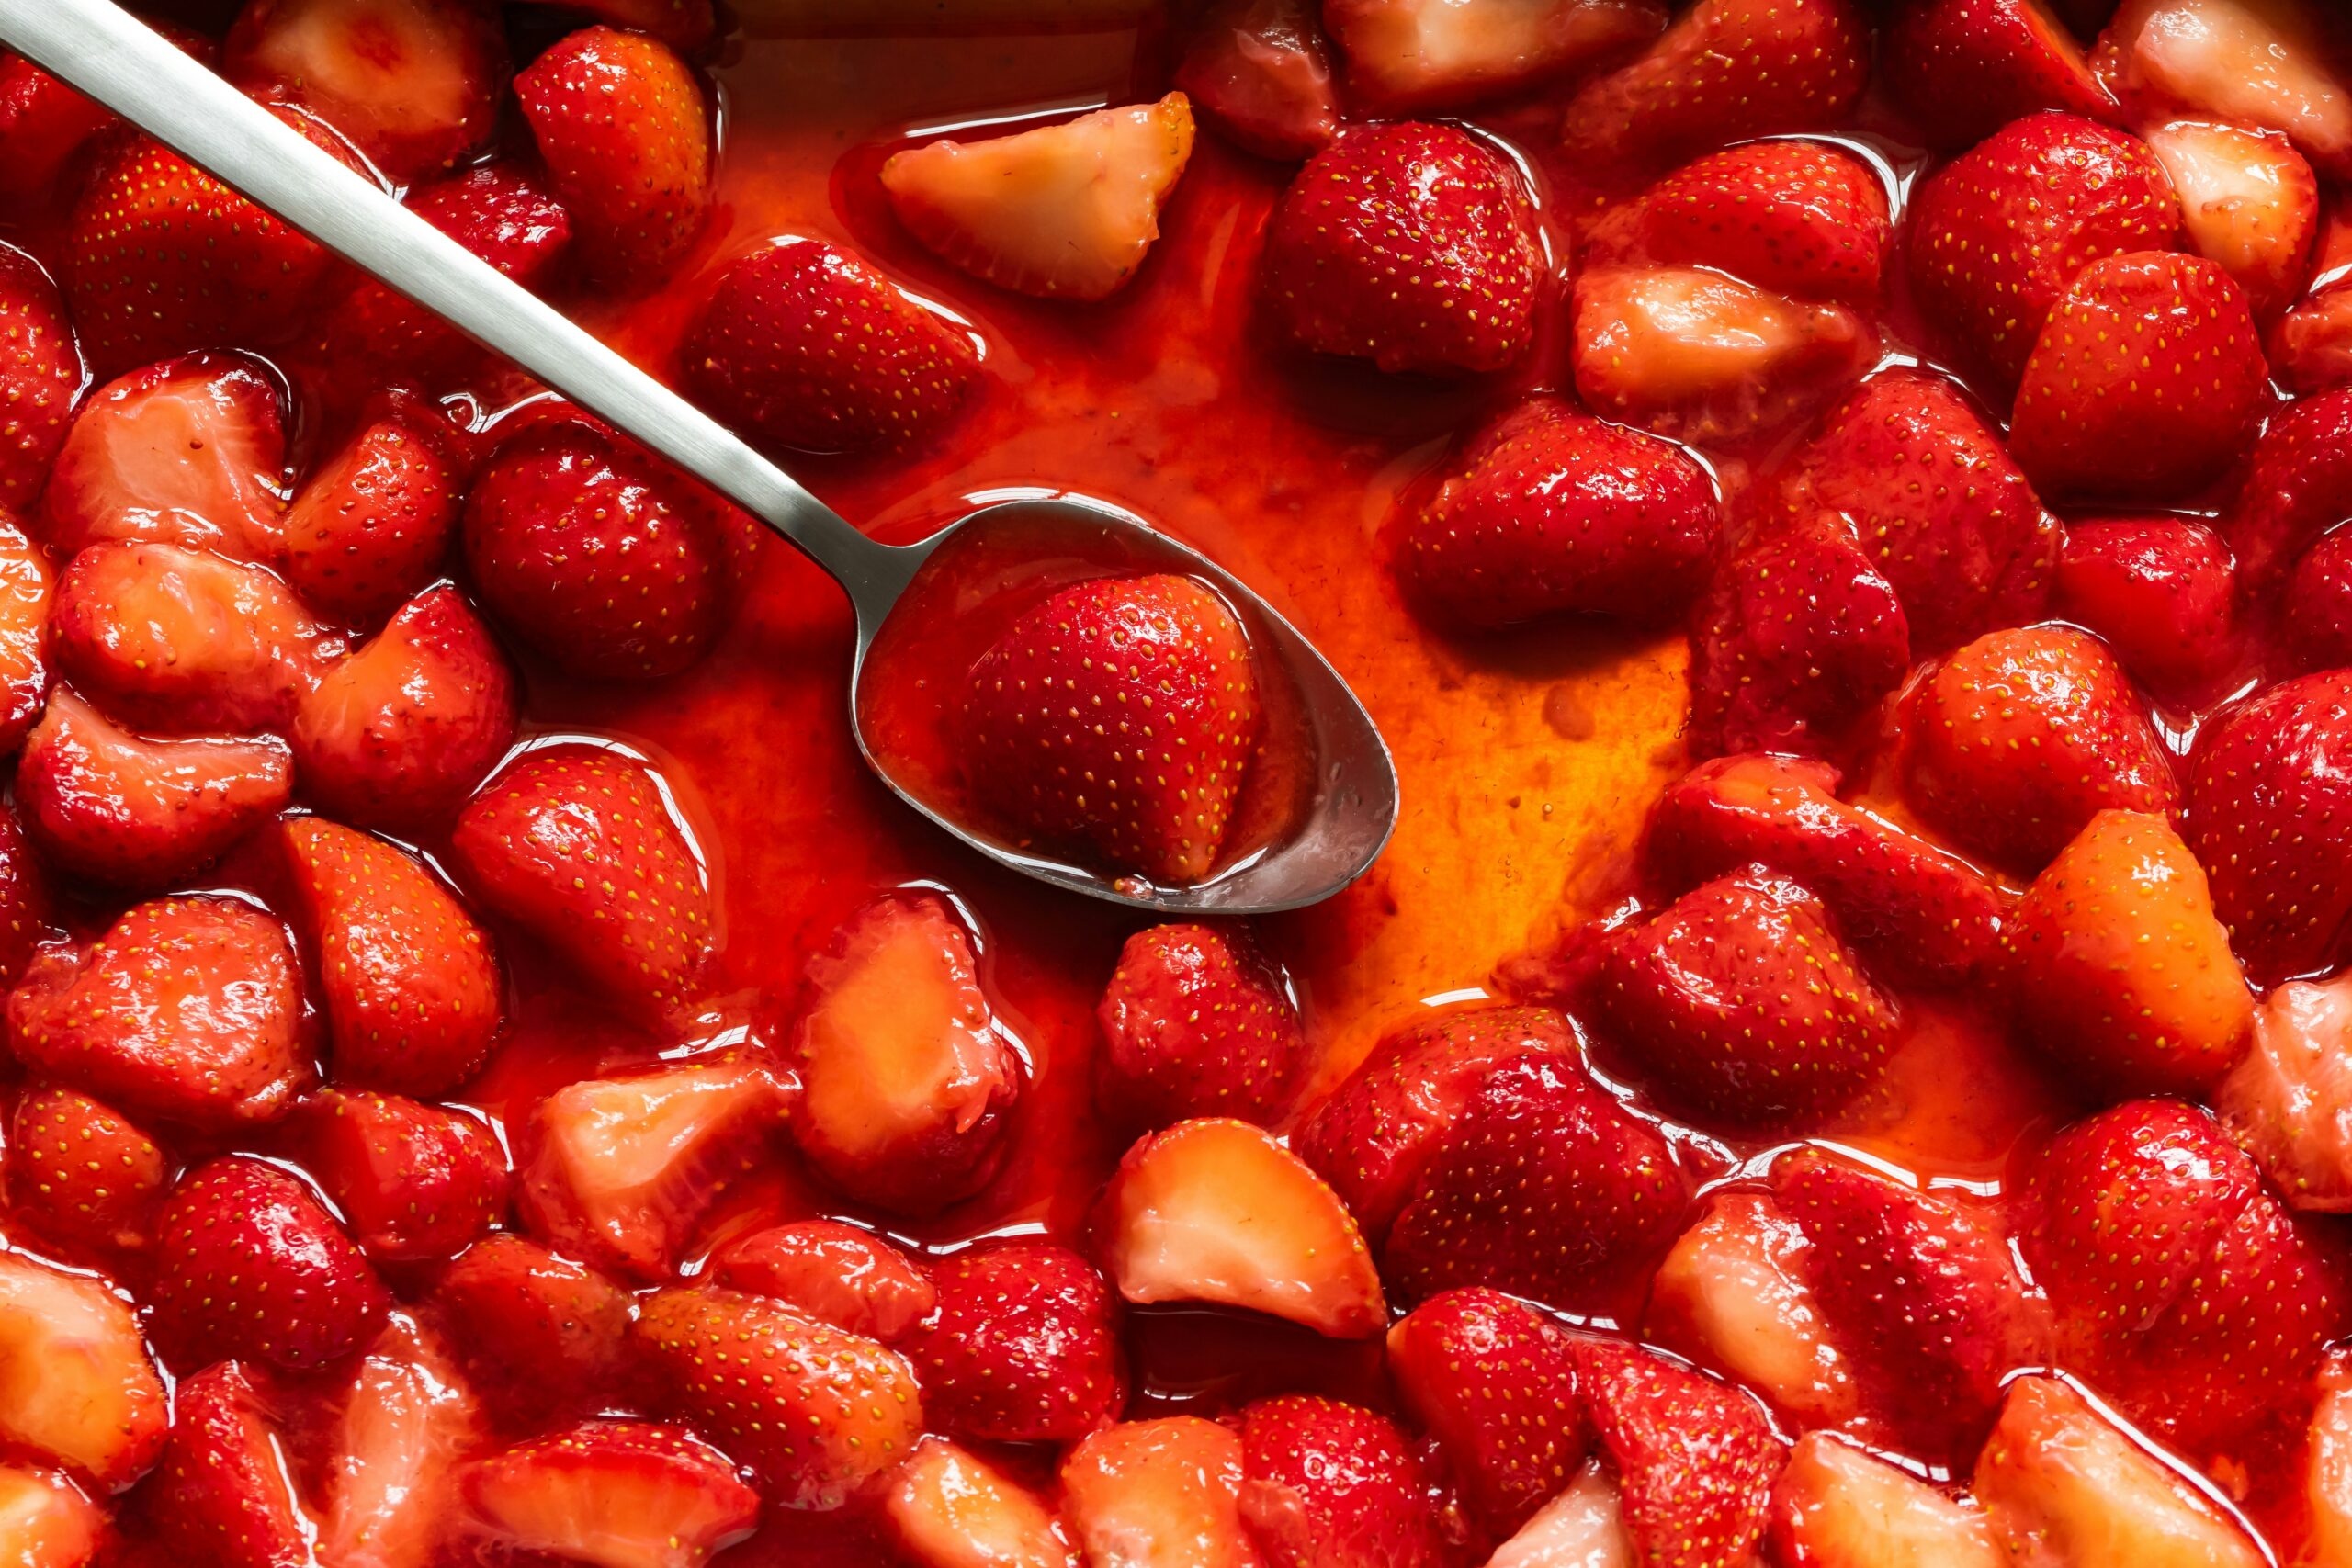
The Step-by-Step Process of Making Jam
To begin making jam, start by thoroughly washing your chosen fruit. After cleaning, cut the fruit into small pieces, removing any pits, stems, or peels as necessary. Place the prepared fruit into a large, heavy-bottomed pot and mash slightly to release juices. For every cup of fruit, add approximately ¾ to 1 cup of sugar, adjusting based on the sweetness of the fruit and your personal preference. If your fruit is low in pectin or acid, consider adding lemon juice or commercial pectin to help achieve the desired set.
Heat the mixture over medium heat, stirring constantly to dissolve the sugar and prevent sticking. Once the sugar is fully dissolved, increase the heat to bring the mixture to a rolling boil that cannot be stirred down. Continue boiling while stirring frequently until the mixture thickens. You can test the readiness by placing a small amount of the jam on a cold plate; if it wrinkles when pushed with a finger, it’s ready.
Remove the pot from the heat and skim off any foam. Ladle the hot jam into sterilized canning jars, leaving about ¼ inch headspace. Wipe the rims clean, secure the lids, and process in a water bath canner according to the jar manufacturer’s recommendations. This step ensures your jam is preserved safely for future enjoyment.
Mastering the Art of Jelly Making
Crafting exquisite jelly begins with selecting high-quality, ripe fruit to extract the juice, ensuring a potent, flavorful base. After juicing, combine the clear fruit juice with sugar, following a tested recipe’s specific ratio to maintain the delicate balance between sweetness and tartness. The addition of pectin is crucial, as it helps the jelly achieve its signature gel-like consistency. Heat the mixture over medium to high heat, stirring continuously to fully dissolve the sugar. It’s vital to bring it to a full rolling boil, a boil that cannot be stirred down, and then to cook it to the exact temperature recommended, typically using a candy thermometer for precision. This process requires attentiveness, as the perfect jellying point is key to forming the right texture without compromising the jelly’s clarity or flavor. After reaching the correct temperature and consistency, the hot jelly should be immediately poured into prepared, sterilized jars, ensuring to leave the appropriate headspace before sealing. Processing the filled jars in a water bath canner according to proper guidelines finalizes the preservation, readying your jelly for enjoyment.
Canning Your Preserves for Long-Term Storage
Canning is a pivotal step to ensure that your homemade jams and jellies remain fresh and delicious throughout the year. Begin by carefully ladling the hot preserves into sterilized canning jars, taking care to leave the appropriate amount of headspace as recommended by the recipe. This space is critical for creating the vacuum seal necessary for preservation. Next, wipe the rims of the jars with a clean cloth to remove any residue or drips, which could interfere with the sealing process. Place the sterilized lids on top of each jar, securing them with the rings until they’re fingertip tight. This step prevents air from entering the jars during the canning process. Submerge the jars in a water bath canner, ensuring they are covered by at least an inch of water. Boil for the time specified by the recipe or jar manufacturer, adjusting for altitude if necessary. Once processed, carefully remove the jars and let them cool undisturbed for 24 hours. Check the seals before storing; properly sealed jars will have a concave lid that doesn’t flex when pressed. This meticulous process safeguards your preserves, allowing you to enjoy the fruits of your labor long after the canning season has passed.
Troubleshooting Common Jam and Jelly Making Issues
Encountering challenges while making jams and jellies is part of the learning curve. If your jam is too runny, it may need a longer boil time to reach the proper gelling point. On the other hand, crystallization often results from excessive sugar or uneven cooking; ensure your sugar is fully dissolved before boiling. For jars that fail to seal, recheck the rim cleanliness and ensure the lids are secured just right, not too tight. Reprocessing unsealed jars within 24 hours can also rectify this issue. Remember, accurate temperature control using a candy thermometer can prevent many of these problems, aiding in achieving the perfect consistency for your preserves.
Creative Ways to Enjoy and Share Your Homemade Preserves
Exploring the versatility of your homemade jams and jellies opens a new chapter in your culinary adventures. These delightful spreads can enhance a wide variety of dishes and desserts, beyond the traditional breakfast toast. Try swirling your jam into morning oatmeal or yogurt for an instant flavor boost. Incorporating jellies into salad dressings or glazes can add a unique sweet and tangy note to savory dishes. For a creative twist, blend your preserves into smoothies or cocktail recipes, giving them a personal touch of homemade goodness. Sharing your bounty is equally rewarding. Package your jams and jellies in decorative jars, adorned with fabric tops and custom labels, to create heartfelt gifts. Hosting a tasting party allows friends and family to sample your creations, perhaps accompanied by an array of cheeses, crackers, and wines that complement the flavors of your preserves. These acts of sharing not only spread joy but also introduce others to the fulfilling world of jam and jelly making.